TPX SDK Guide
1. Sign up for a TradPlus account
1)Go to TradPlus website:http://tradplus.com .
2)Click [sign up] at the top right corner of the page

3)Fill in the required information
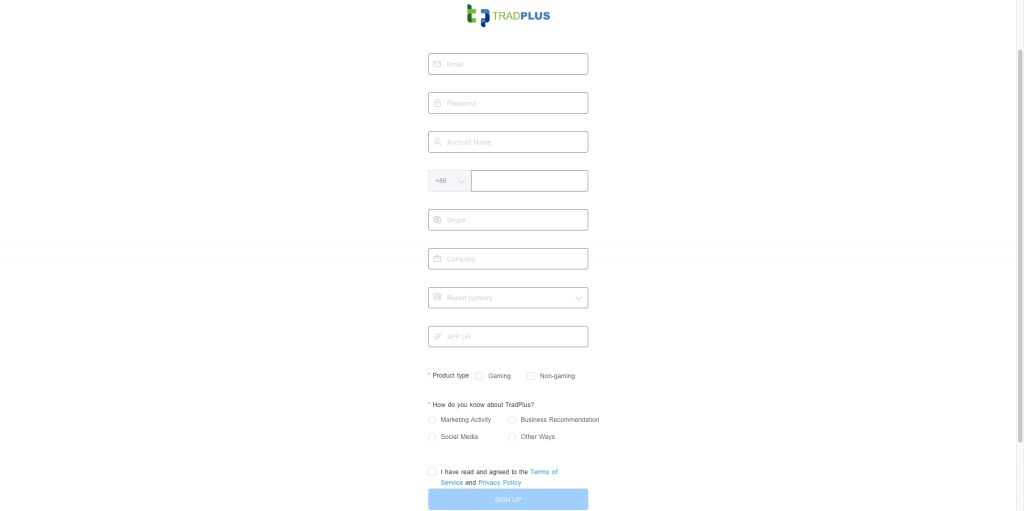
| Sign up information | Instruction |
|---|---|
| Enter your Email Address | |
| Password | Enter a password. Password must be >=8 chars |
| Account name | Enter your account name |
| Cell-phone number | Enter your cell-phone number |
| Skype | Enter your Skype ID |
| Company | Enter your company name |
| Report currency | TradPlus data reports provide statistics in “RMB” and “USD”, please select the currency you wish to use for your report. |
| App Url | Enter your app url(App Store address or APK download address) |
| Product type | If your product is a game app, please choose [Gaming]; for non-game app, please choose [Non-gaming] |
| How do you know about TradPlus? | Choose how do you know about Tradplus? |
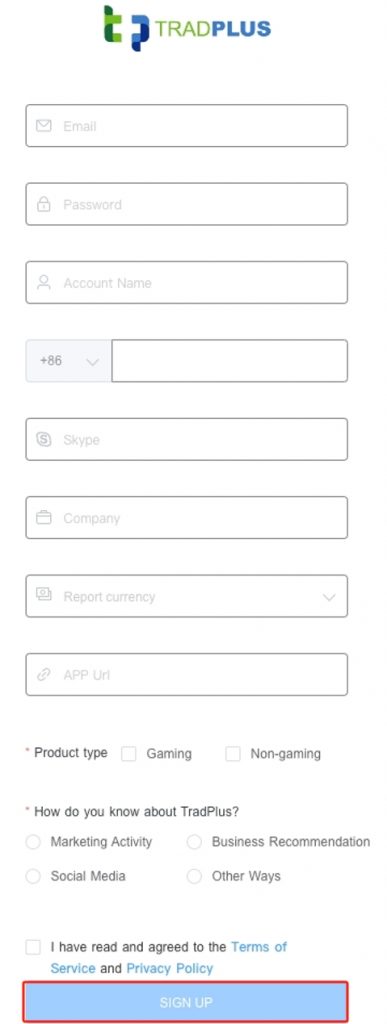
4)Check [I have read and agreed to the Terms of Service and Privacy Policy].
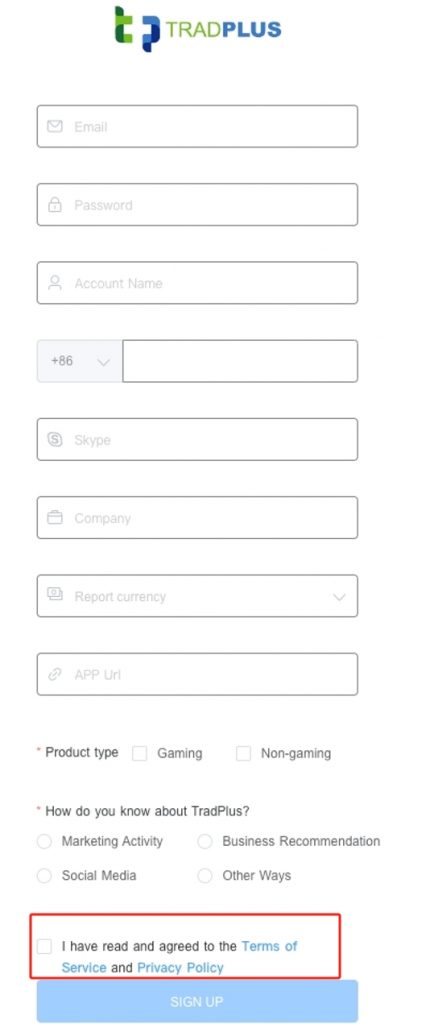
5)After confirming that you have filled in the information correctly, click [Sign Up], and you can log in to the background after successful registration.
2. Add an app
2.1 Procedure
1)Click【App Management】-【Apps & Ad Units】-【Add an app】。

2)Fill in the application related information:
![]()
| App information | Instruction |
|---|---|
| OS | Select the app OS |
| App Store/Google Play/Other app stores/ Not on any store | If your app is for iOS system, or already on App Store, choose [Yes]; otherwise, choose [No]; if your app is for Android system, or already on Google Play, choose [Google Play]; if your app is on other app stores, choose [Other app store]; if your app is not on any store, choose [Not on any store]. |
| App Store URL | Fill in the address of your app in Google Play and click [Verify URL] to verify the address. The URL cannot be changed after it is saved, so please confirm that the link is filled in correctly. |
| App Domain | Fill in the App Domain, such as, tradplus.com |
| Bundle Name | Fill in the bundle Name, such as, com.tradplus.app |
| App Name | Fill in the app name. You cannot change the App name after saving it, so please confirm that the name is filled in correctly. |
| Category | Select the category. If your app is a game app, please choose [Gaming]; for non-game app, please choose [Non-gaming] |
| Sub Category | Select the sub category |
Advanced Settings - Adjust Authorization
- Please continue to fill in the following information if you have enabled the Adjust authorization, or ignore this entry if you have not.
- If you need to activate an Adjust authorization, please contact your TradPlus AM to activate it.
- Please apply for Ad Revenue authorization from Adjustd, otherwise you can't send TradPlus data back to Adjust.

3)After confirming all the information, click [Confirm] to save the application information
2.2 Expected results
You can view the added apps in the app list on the left side of the [Apps & Ad Units] page as shown in the screenshot:

3. Add ad units
3.1 Procedure
1) On the [Apps & Ad Units] page, select the app that needs to add ad units, and click [Add Ad Units] in the upper right corner of the page.

2)Fill in the information of the ad units:
You can check the relationships between TradPlus VisiM ad formats and the ad networks' through Table of Ad Formats

TradPlus VisiM supports the configuration of 6 ad formats as described below:
i. Rewarded Video

| Ad Configuration Information | Instruction |
|---|---|
| Ad Unit Name (Required) | Enter Ad unit name |
| No. of Parallel Requests (Required) | The default number is 2, which is suggested to keep as it is. Developers can adjust later based on actual performance. |
| Capping | ● The default choice is 'Uncapped', which is suggested to keep as it is. Developers can adjust later based on actual performance. ● If you need to configure the display cap, please tap 'Capping' and select the cap and frequency. The screenshot shows each user can see the ad up to 3 times every 4 hours.  |
| Reward Item & Amount | This information can be left unconfigured. The rewarded video's reward callback will follow the one in the code. |
| Server Side Reward Callback | ● After the user finishes watching the video, TradPlus server calls back to your server with a reward message. Supported SDK: TradPlus Android SDK >= 7.9 and iOS SDK >= 7.5. ● To ensure the accuracy of the rewards, it is recommended that developers can prioritize ad networks' server reward callbacks. For TradPlus Exchange and cross promotion, TradPlus server reward callbacks can be used directly. |
| TradPus Exchange Blocking Rules | Please fill in this item if you use TradPlus Exchange, otherwise it can be ignored. (To switch on TradPlus Exchange, please contact your Operation Manager.) |
ⅱ. Interstitial

| Ad Configuration Information | Instruction |
|---|---|
| Ad Unit Name (Required) | Enter ad unit name |
| No. of Parallel Requests (Required) | The default number is 2, which is suggested to keep as it is. Developers can adjust later based on actual performance. |
| Capping | ● The default choice is 'Uncapped', which is suggested to keep as it is. Developers can adjust later based on actual performance. ● If you need to configure the display cap, please tap 'Capping' and select the cap and frequency. The screenshot shows each user can see the ad up to 3 times every 4 hours. |
| TradPus Exchange Blocking Rules | Please fill in this item if you use TradPlus Exchange, otherwise it can be ignored. (To switch on TradPlus Exchange, please contact your Operation Manager.) |
ⅲ. Banners

| Ad Configuration Information | Instruction |
|---|---|
| Ad Unit Name (Required) | Enter ad unit name |
| No. of Parallel Requests (Required) | The default number is 1, which is suggested to keep as it is. Developers can adjust later based on actual performance. |
| Auto refresh | ● Choose whether or not to auto-refresh. ● It is recommended to choose no refresh initially, and after the data is stabilized, you can configure the refresh time as 60s, 120s, 180s and so on. ● If you have configured automatic refresh at TradPlus, please disable the auto refresh at networks. ● If you need to use the TradPlus for auto refresh, but can't turn off the auto refresh at networks, we recommend that you configure a normal auto refresh time at TradPlus, and the longest auto refresh time at networks.For example, if Unity has the banner auto-refresh range from 10s to 40s, it is recommended to configure 40s. |
| Capping | ● The default choice is 'Uncapped', which is suggested to keep as it is. Developers can adjust later based on actual performance. ● If you need to configure the display cap, please tap 'Capping' and select the cap and frequency. The screenshot shows each user can see the ad up to 3 times every 4 hours. |
| TradPus Exchange Blocking Rules | Please fill in this item if you use TradPlus Exchange, otherwise it can be ignored. (To switch on TradPlus Exchange, please contact your Operation Manager.) |
ⅳ. Native Ads
There are 2 types of native ads to choose from:
a. Standard
b. Native Draw video

Specific configuration guidelines are listed below:
Standard & Native Draw video
| Ad Configuration Information | Instruction |
|---|---|
| Ad Unit Name(Required) | Enter ad unit name |
| No. of Parallel Requests(Required) | The default number is 2, which is suggested to keep as it is. Developers can adjust later based on actual performance. |
| Capping | ● The default choice is 'Uncapped', which is suggested to keep as it is. Developers can adjust later based on actual performance. ● If you need to configure the display cap, please tap 'Capping' and select the cap and frequency. The screenshot shows each user can see the ad up to 3 times every 4 hours. |
| TradPus Exchange Blocking Rules | Please fill in this item if you use TradPlus Exchange, otherwise it can be ignored. (To switch on TradPlus Exchange, please contact your Operation Manager.) |
3)After filling out the form and confirming that it is correct, click [Confirm] to save the ad unit information.
3.2 Expected result
You can view the added ad units in the ad unit list on the right side of the [Apps & Ad Units] page as shown in the picture:

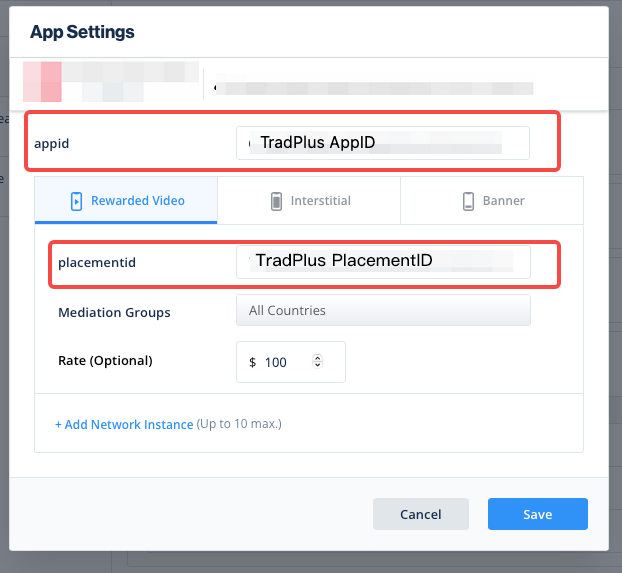
4. Configure ad placements for the TPX SDK
4.1 Obtain the App ID and Placement ID from the TPX SDK backend.

4.2 Configure ad placements for the TPX SDK in the Admob backend
Fill in the Appid and Pid into the Admob backend.

4.3 Configure ad placements for the TPX SDK in the Ironsource backend
Fill in the Appid and Pid into the Ironsource backend.
4.4 Configure ad placements for the TPX SDK in the MAX backend
Fill in the Appid and Pid into the MAX backend.

5. Enable the application in the TPX SDK backend.

①select 'TPX'
②choose ' Switch Status'
③check the corresponding apps
④click ‘Batch Open’
6. Set the Floor price in TPX SDK backend.

①select 'Segments'
②choose ' app and ad Units ' that you previously created.
③Click 'Unlimited' and set a floor price, and before configuring the price, it is recommended to communicate with TPX AM first.
Sample as below, and then click ‘√’

④You need to pay attention to the price configuration. If misconfigured, it will affect revenue.
After the configuration is completed, It would be best to provide a screenshot of the corresponding price configuration in the Max backend and let TP AM to check it.
Please note: If you want to set multiple prices, you should create multiple ad units.
7. Access Guide
7.1 Admob
7.2 ironSource
7.3 Max
8. Test Mode

If you want to test during the integration process, you can first create a test placement id and open it here. The steps as below:
1)choose 'advanced settings' and click 'Test mode'
2)click 'create Test mode' and enter the information as below, then save it
- Device ID: Android supports GAID, OAI and TpUserID; iOS supports IDFA and IDFV.
- Device name: Customized configuration
- App: choose the app that you created
- Networks: choose Tradplus Exchange
- Header bidding :yes
3)Status on switch